Company settings: depot, hours, proof of delivery and team
5 steps4 min read
A quick tour of the settings most teams change in the first week.
In this guide
Step 1: Company and depot
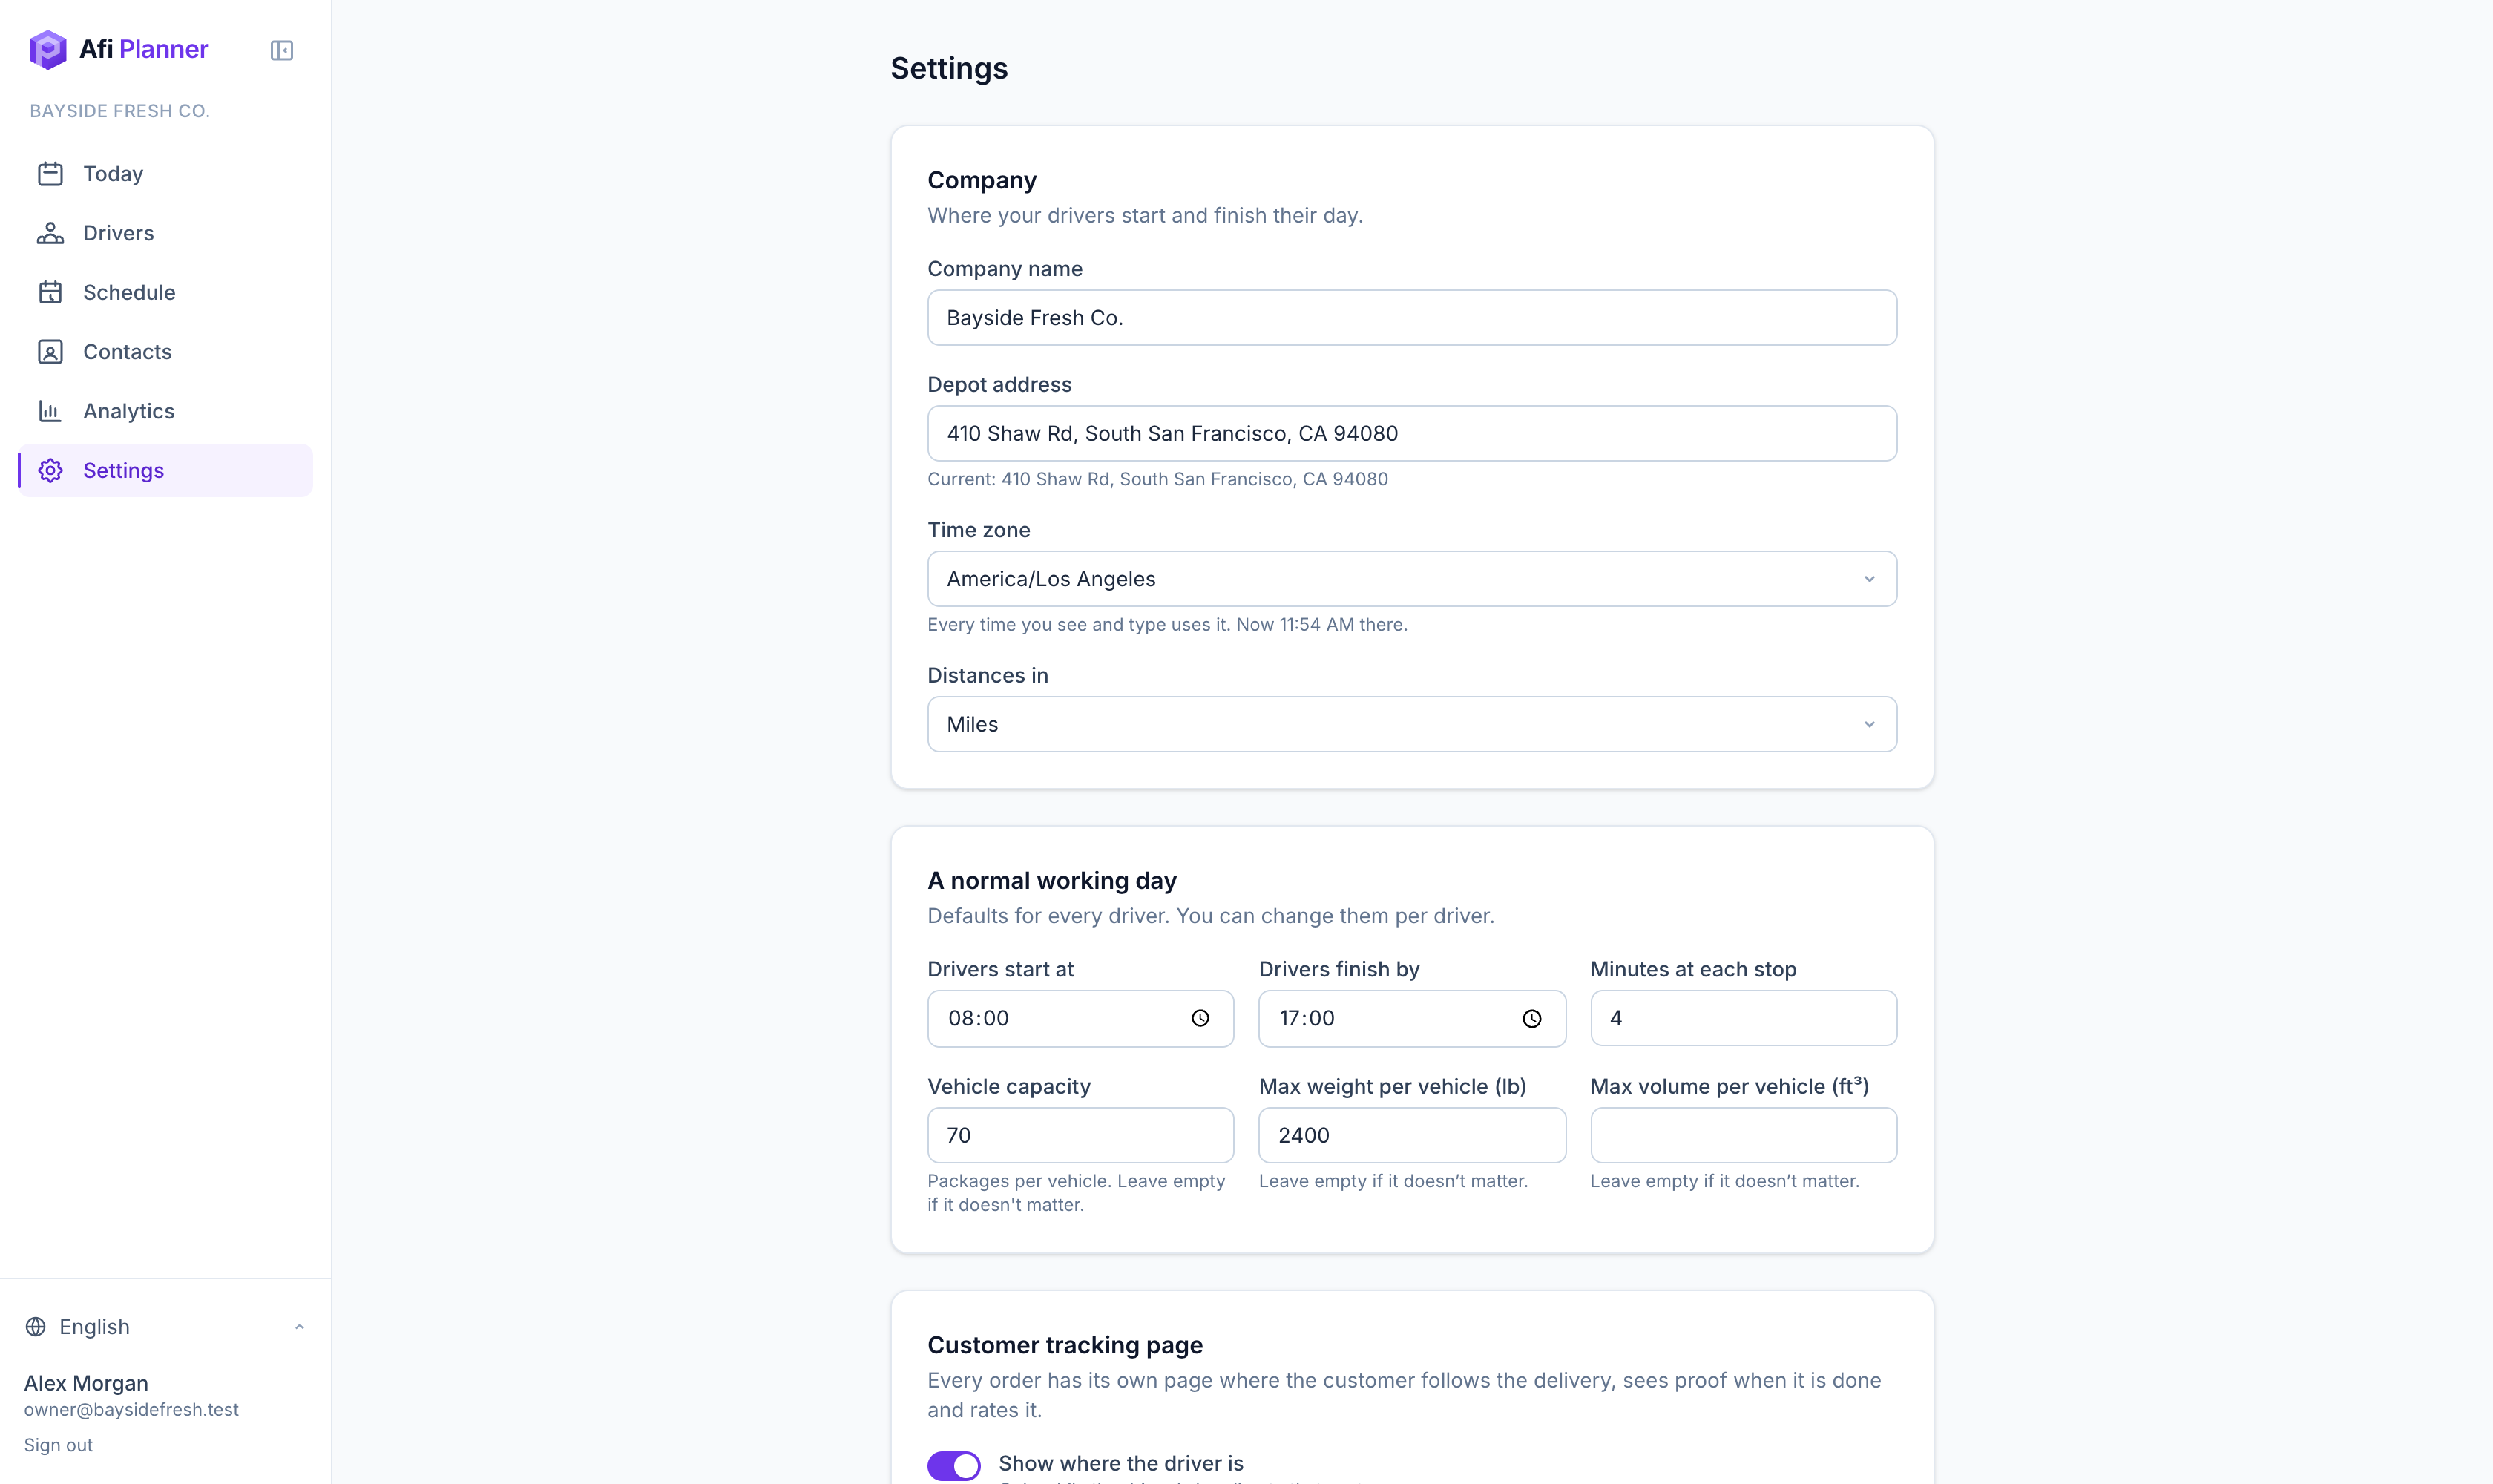
Company name, depot address, delivery days, working hours, miles or kilometers and the language of the dashboard. With miles, vehicle weight and volume limits are in lb and ft³. Add a dispatch phone for your drivers’ Call dispatch button and a support contact for your customers’ tracking page.
Step 2: Proof of delivery and loading
For each of photo, signature, recipient name and barcode scan, choose off, optional or required. Add your own failure reasons and require a photo where it matters. Under Van loading check, choose off, optional or required, and whether drivers scan each package or tick the stops on a list.
Step 3: Team and roles
Team and Your account are their own tabs in Settings. Under Team, invite your team by email and give each person a role: admin (everything but billing), dispatcher (plans and sends routes), customer service (finds any order and its story, changes no route), read-only, or developer (API keys and webhooks). Under Roles, change what a built-in role may do, or create your own from one, such as a night desk, by ticking permissions. Changing a built-in role suggests a new name for it, such as “Read-only (changed)”. Invite email stuck in spam? Click Copy invite link and send it any way you like: it works once, for 14 days. Whoever joins with it gets a banner asking them to confirm their email, and can’t sign in on another device until they do.
Tip: Nobody can give a permission they don’t have, and the owner can’t be changed or removed.
Step 4: Route planning solver
Plan on the Afi routing engine (included) or on Google Route Optimization in your own Google Cloud project. See the guide on using Google Route Optimization.
Step 5: Integrations
SMS through your own Twilio, WhatsApp through your WhatsApp Business account.